Last time out I was looking at holiday photos, so to kick off the New Year (a time when credit cards are traditionally maxed out) I thought I'd feature some ideas that cost nothing.
Everyday household objects can be fun subjects for creativity - especially on days like today (I'm looking out of a rain-spattered window as I type this).
Turning ostensibly banal objects into abstract art is a good exercise in creativity; ask yourself, "how can I present this item in a new and interesting way?"
It can also be done on a budget. For these images I put a 60mm macro lens on my tripod-mounted SLR, and used natural light. If you don't have an SLR and macro lens, a compact camera will probably let you get just as close.
A couple of the images also involved a laptop screen, and some minimal Photoshop editing was done - but nothing that could not be achieved in open source / free software or even the software packaged with your camera.
In the first two images a set of drinking straws were bundled together and secured with an elastic band. Each bundle was rested on its side in front of a white background, and shot in (frontal) natural light. Photoshop editing was required to remove the surface on which the straws rested; this could be avoided by balancing your straw bundle on top of the white surface and shooting down on it (a technique employed for the final two images in this set).
I spot metered the dark surface of the straws so the white background would over-expose and the black straws would render mid to dark grey. Small changes in camera position and angle dictated which straws allowed (reflected) light through from the background.
For the next image I simply moved the camera much closer and dialled in an 'incorrect' white balance setting on my camera. Setting the white balance to 'tungsten bulb' rendered the diffuse natural daylight blue. This shift could also be accomplished easily in Photoshop's RAW Processor if you shoot RAW.
The last two images were shot looking down over a horizontal laptop screen (be VERY careful what you put onto your screen - it can be easily damaged!)
A background image was displayed such that it covered most of the laptop screen, and the camera postioned so the image filled the frame. The straws were cut to half their original length to help them stand up and to allow more light through.
Something to look out for with macro images are stray hairs, fluff, dust and so on. What may be barely noticeable to the naked eye can be enfuriatingly apparent in a macro photograph. I left a largish hair in the image above because I decided it looked interesting, but removed it from the image below using Photoshop's clone stamp and patch tool.
Remember, you don't have to copy these ideas - what items are laying around in your kitchen, bathroom, garage etc that might form the basis for interesting abstracts?
Showing posts with label space. Show all posts
Thursday, 2 January 2014
Friday, 4 January 2013
Oil, Water and Food Dye Pt1
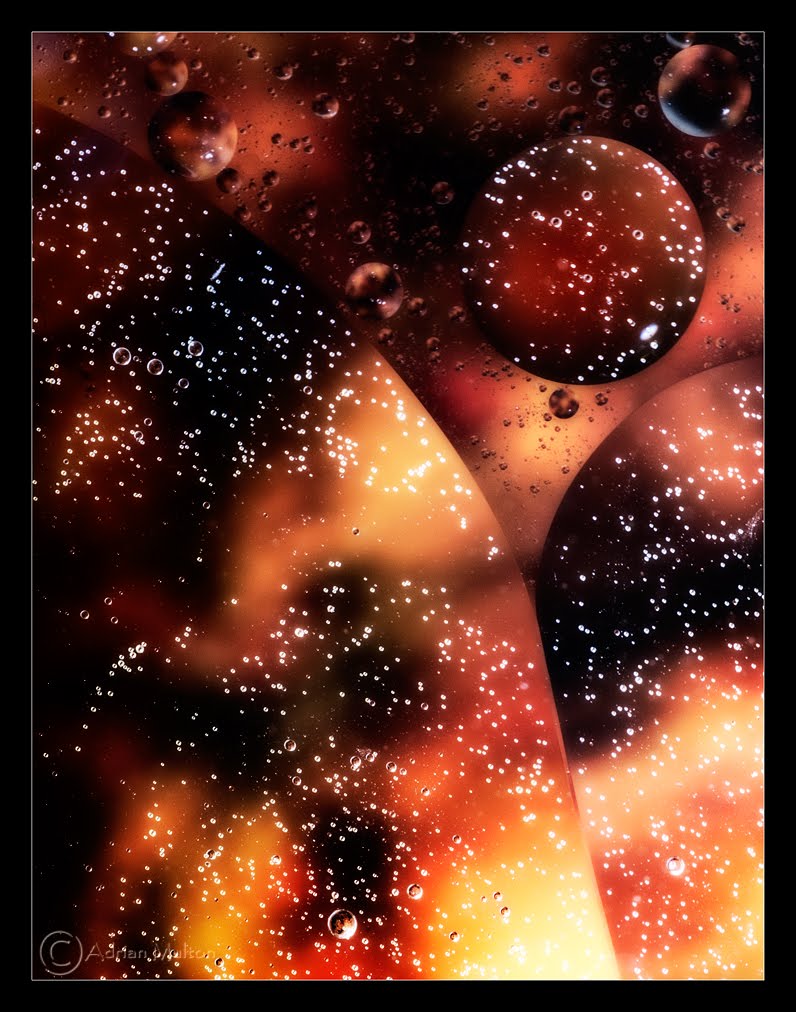
Some development of the Bubblescape theme.
The previous 'scapes utilized printed (or solid tone) backgrounds and were lit with flash. The next few updates feature digital backgrounds and no other light source.
Since quite a number of the previous images had an 'astronomical' appearance, I chose some images representing aspects of the universe (fact or fiction).
Even with the laptop screen used as a background set to maximum brightness, the overall luminance was low. Consequently, the images are slightly grainier than before - and a very shallow depth of field was chosen for the macro lens. Both these qualities bring increased physicality to the images in my opinion, distancing them from the smoothness of vector graphics and the like.
The next couple of updates will feature more detailed tips for creating your own cooking-oil art, but for the moment, here are some I made earlier:
Labels:
abstract,
cosmic,
fantasy,
food dye,
home photography project,
oil,
oil and water,
oil painting,
planets,
sci fi,
space
Sunday, 30 September 2012
Oil Painting (Part 3)
Just received an order of food dye to play with (courtesy of my better half), but in the meantime here's another set from my first experimentation with oil in water:
Labels:
abstract,
bubbles,
oil and water,
oil painting,
space
Wednesday, 26 September 2012
Oil Painting (Part 1)
Something anyone can try at home even with rudimentary camera and lighting equipment is combining oil with water.
Pour some (room temperature) water into a clear-bottomed* glass container and add some cooking oil. Light from underneath and get in close with the camera - Bob's your uncle!
Ok, there's a little more to it than that, but there are already plenty of good tutorials across the web that can get you started.
Once you understand the basics, experiment with different backgrounds, apertures, depths of water, shooting distance and so-on. Its really easy to while away the whole day on this stuff.
*This is fairly important, unless you want to sign all your bubbly masterpieces 'Pyrex'.
Pour some (room temperature) water into a clear-bottomed* glass container and add some cooking oil. Light from underneath and get in close with the camera - Bob's your uncle!
Ok, there's a little more to it than that, but there are already plenty of good tutorials across the web that can get you started.
Once you understand the basics, experiment with different backgrounds, apertures, depths of water, shooting distance and so-on. Its really easy to while away the whole day on this stuff.
*This is fairly important, unless you want to sign all your bubbly masterpieces 'Pyrex'.
Labels:
abstract,
bubbles,
oil and water,
oil painting,
space
Subscribe to:
Posts (Atom)